Getting rid of bed bug infested furniture seems straightforward until you realize that a single piece can contain hundreds of hidden bugs and up to 500 tiny eggs. Most people just drag the sofa outside and hope for the best, thinking the problem ends there. But unless you follow proven steps for safe disposal, you could be turning a quick fix into a neighborhood outbreak without even knowing it.
Table of Contents
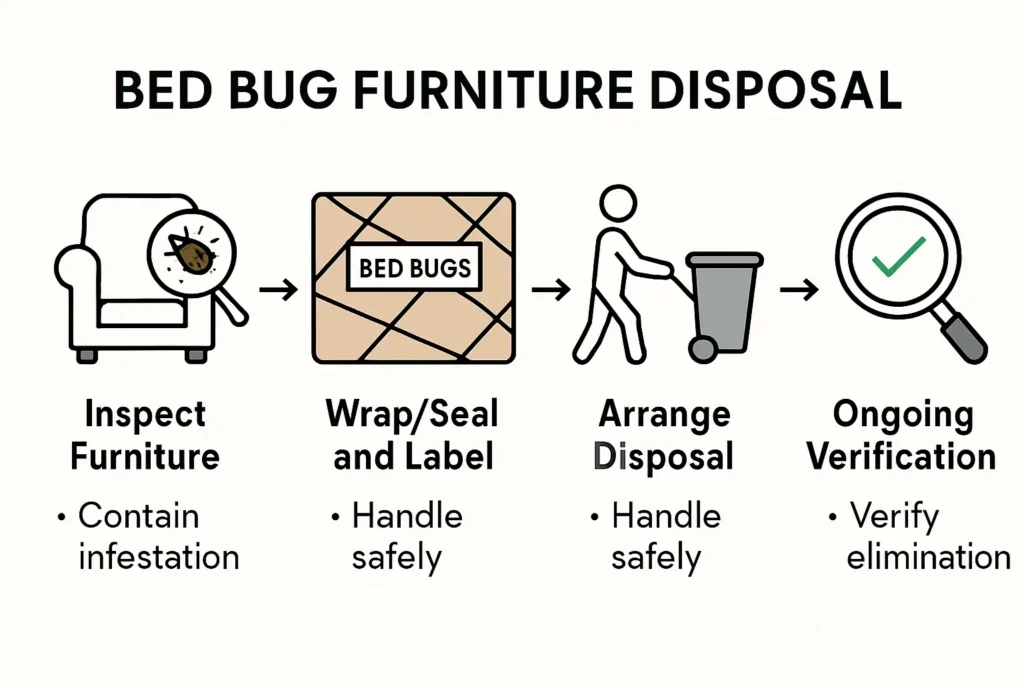
- Step 1: Evaluate Furniture for Infestation
- Step 2: Prepare for Safe Disposal
- Step 3: Seal and Label Infested Items
- Step 4: Arrange for Proper Disposal
- Step 5: Clean and Decontaminate Remaining Areas
- Step 6: Verify the Area Is Bed Bug Free
Below is a step-by-step overview table summarizing each main action in the bed bug furniture disposal process. Use this to quickly understand the sequence, relative difficulty, and the key outcome of each stage.
| Step | Difficulty | Key Outcome |
|---|---|---|
| 1. Evaluate furniture for infestation | Moderate | Identify scope and need for disposal |
| 2. Prepare for safe disposal | Moderate | Prevents bed bug spread during removal |
| 3. Seal and label infested items | High | Ensure containment and warning |
| 4. Arrange for proper disposal | Moderate | Compliant and effective removal |
| 5. Clean and decontaminate remaining areas | Moderate | Remove lingering bugs/eggs from area |
| 6. Verify the area is bed bug free | Moderate | Confirm successful elimination |
Quick Summary
| Key Point | Explanation |
|---|---|
| 1. Thoroughly inspect furniture for bugs | Use a flashlight, gloves, and magnifying glass to find signs of bed bugs before disposal. |
| 2. Seal and label infested items | Wrap furniture in heavy plastic and clearly mark it as infested to prevent accidental reuse. |
| 3. Follow local disposal regulations | Check with waste management for specific guidelines on bed bug contaminated items in your area. |
| 4. Deep clean remaining areas post-removal | Wash fabrics and steam clean surfaces to eliminate any remaining bed bugs that may be present. |
| 5. Verify bed bug elimination regularly | Conduct follow-up inspections with traps and professional help to ensure no bugs remain. |
Step 1: Evaluate Furniture for Infestation
Bed bug furniture disposal starts with a critical first step: thoroughly assessing whether your furniture is actually infested. This comprehensive evaluation helps you determine the most appropriate removal strategy and prevents potential spread of these persistent pests.
Begin your inspection by gathering essential tools: a bright flashlight, white gloves, and a magnifying glass. These will help you thoroughly examine every inch of the furniture without missing crucial details. Focus first on seams, cracks, corners, and any fabric folds where bed bugs love to hide. Look for telltale signs of infestation: tiny reddish brown bugs, small white eggs, dark rust colored stains from excrement, or shed exoskeleton casings.
According to the U.S. Environmental Protection Agency, carefully inspect furniture during daylight hours when bed bugs are less active. Start with upholstered pieces like sofas, armchairs, and mattresses. Check wooden furniture joints, underneath cushions, and along zipper edges. Pay special attention to areas where fabric meets frame, as these are prime hiding spots.
If you discover live bugs, eggs, or significant evidence of infestation, immediate professional intervention becomes crucial. Some indicators that suggest professional treatment might be necessary include:
- Multiple live bed bugs visible during inspection
- Extensive dark staining on fabric or wood surfaces
- Evidence of bugs in multiple furniture pieces
- Persistent bites or skin reactions suggesting ongoing infestation
Remember that a thorough inspection requires patience and meticulousness. Take your time examining each piece systematically, rotating and lifting cushions, checking underneath and behind furniture. When in doubt about the extent of infestation, consider consulting a pest control professional who can provide a definitive assessment and recommend safe disposal methods.
Step 2: Prepare for Safe Disposal
After confirming bed bug infestation, preparing furniture for safe disposal becomes a critical containment strategy. Your primary goal is preventing potential spread of these resilient pests during removal. Immediate containment is crucial to protect your home and prevent wider contamination.
Start by gathering critical supplies: heavy duty plastic sheeting, strong packing tape, large garbage bags, disposable gloves, and markers. Carefully wrap the entire infested furniture piece completely, ensuring no gaps or openings where bugs could escape. Use clear, bright colored tape to seal all seams and edges of the plastic wrapping. Mark the wrapped furniture with clear warnings like “BED BUG INFESTED” to alert disposal workers and prevent accidental reuse.
According to Purdue University’s Extension, each piece of infested furniture should be individually sealed before removal. Break down larger furniture into smaller sections if possible, which makes transportation and disposal easier. For upholstered items like sofas or armchairs, remove cushions and wrap them separately to ensure complete coverage.
Your disposal preparation might vary depending on local regulations. Some municipalities require specific handling procedures for bed bug infested items. Check with local waste management authorities about their specific guidelines for contaminated furniture disposal. Some areas offer special pickup services or designated disposal sites for pest infested items.
Here is a handy table of essential tools and materials you will need to safely inspect, seal, and dispose of bed bug infested furniture. This checklist helps you assemble everything before starting the process.
| Tool/Material | Purpose | Notes |
|---|---|---|
| Flashlight | Spot hidden bed bugs and eggs | Preferably bright LED |
| White gloves | Protect hands and improve bug visibility | Use disposable if possible |
| Magnifying glass | Examine tiny bugs, eggs, and stains | At least 5X magnification recommended |
| Heavy-duty plastic sheeting | Wrap and seal infested furniture | Minimum 6 mil. thickness |
| Packing tape (industrial) | Secure plastic wrap and seal seams | Bright colored or clear |
| Large garbage bags | Bag smaller items and furniture parts | For removable cushions/components |
| Markers/Warning labels | Clearly label items as “BED BUG INFESTED” | Use permanent marker or large stickers |
| Disposable gloves | Minimize contamination during handling | Change between tasks as needed |
| HEPA filter vacuum | Clean area after removal | Target cracks and baseboards |
| Steamer (commercial grade) | Eliminate bugs/eggs on surfaces | Must reach above 160°F |
Consider our guide on responsible disposal methods for additional insights into safe removal techniques. If furniture is too large or complicated to manage independently, professional junk removal services specializing in pest contaminated items can provide expert assistance. They have proper equipment and protocols to safely transport and dispose of infested furniture without risking further spread.
Verify your preparation by ensuring:
- No exposed fabric or wooden surfaces remain uncovered
- Plastic wrapping is completely sealed with industrial strength tape
- Furniture is marked with clear warning labels
- Transportation route is planned to minimize contact with other surfaces
Step 3: Seal and Label Infested Items
Sealing and labeling infested furniture is a critical step in preventing bed bug spread and ensuring responsible disposal. This process goes beyond simple wrapping it requires strategic containment that protects both your property and potential waste handlers from unexpected exposure.
Professional grade sealing demands more than standard packaging. Select heavy duty clear plastic sheeting at least 6 millimeters thick, which provides a robust barrier against potential bug escape. Completely encase each furniture piece using multiple layers of plastic, ensuring no gaps or potential exit points. Secure the plastic with industrial strength packing tape, creating an airtight seal that traps any potential bed bugs inside. Use clear tape that allows visual inspection and demonstrates the thoroughness of your containment efforts.
According to the U.S. Environmental Protection Agency, clear labeling is just as crucial as physical containment. Create highly visible warning labels using permanent marker or large printed stickers that clearly state “BED BUG INFESTED ITEM” in bold lettering. These warnings serve multiple purposes: alerting waste management professionals, preventing accidental reuse, and demonstrating responsible disposal practices.
Consider additional precautions for different furniture types. Wooden furniture might require different sealing techniques compared to upholstered pieces. For wooden items with multiple crevices, use additional plastic wrap and tape to seal potential bug hiding spots. Cushions and removable components should be individually wrapped and labeled to ensure comprehensive containment.
When labeling, include supplementary information that might assist disposal teams:
- Date of initial bed bug identification
- Location where furniture was stored
- Brief notes about treatment attempts
- Your contact information for potential follow up
Learn more about responsible disposal techniques to ensure you’re following best practices. Remember that proper sealing and labeling not only protects your immediate environment but also demonstrates community responsibility in managing pest control.
Verify your sealing process by checking that every surface is completely covered, tape edges are smoothly applied without wrinkles, and labels are clearly visible from multiple angles. A well sealed and labeled item significantly reduces the risk of unintentional bed bug transmission during disposal.

Step 4: Arrange for Proper Disposal
Arranging proper disposal for bed bug infested furniture requires strategic planning and understanding of local waste management protocols. This step goes beyond simply removing the item it involves ensuring complete elimination of potential pest transmission risks while complying with local regulations.
Professional disposal becomes paramount when dealing with bed bug contaminated furniture. Contact your local waste management authority to understand specific guidelines for infested item removal. Some municipalities offer specialized pickup services or require specific handling procedures. If standard municipal services cannot accommodate your needs, professional junk removal services experienced in pest contaminated item disposal become an excellent alternative.
According to the U.S. Environmental Protection Agency, furniture must be rendered completely unusable to prevent potential bed bug spread. This might involve physically destroying the item before disposal. Break down larger furniture pieces, tear upholstery, and ensure the item cannot be mistakenly salvaged by anyone. When transporting, use a covered vehicle to prevent potential bug escape during movement.
Consider scheduling a specialized disposal service that understands bed bug containment protocols. Learn about our responsible disposal methods for managing potentially contaminated items. Professional services can provide end to end management, from pickup to final disposal, minimizing your exposure and risk.
Before final disposal, take additional precautionary steps:
- Double check all plastic sealing for integrity
- Confirm no visible gaps or tears in wrapping
- Ensure warning labels are clearly visible
- Prepare a clear path for removal
Verify disposal completion by obtaining documentation from the waste management service or professional removal team. This documentation serves as proof that the infested furniture was handled according to recommended safety protocols. Maintain these records for potential future reference, especially if you are dealing with a rental property or need to demonstrate responsible pest management.
Remember that thorough, responsible disposal is not just about removing an infested item it is about protecting your community from potential bed bug spread. Each carefully managed disposal helps prevent wider infestation risks.
Step 5: Clean and Decontaminate Remaining Areas
After furniture removal, thorough cleaning and decontamination become critical to preventing potential bed bug reinfestation. This comprehensive process involves more than standard cleaning it requires strategic, meticulous attention to every surface and potential hiding spot where remaining bed bugs might lurk.
Professional grade cleaning starts with complete area preparation. Remove all remaining fabric items like curtains, throw pillows, and area rugs. Wash these items in hot water at least 120 degrees Fahrenheit, which effectively kills bed bugs and their eggs. For non washable items, place them in a hot dryer for minimum 30 minutes. Vacuum the entire area extensively using a vacuum with a HEPA filter, paying special attention to cracks, baseboards, and carpet edges where bed bugs might hide.
According to the U.S. Environmental Protection Agency, integrated pest management involves multiple strategies beyond simple cleaning. Steam cleaning becomes an excellent supplementary technique for hard surfaces and fabric areas. Use a commercial grade steamer capable of reaching temperatures above 160 degrees Fahrenheit, which guarantees bed bug elimination. Focus on mattress seams, furniture joints, and carpeted areas where these persistent insects might survive initial removal attempts.
Learn about our comprehensive cleaning protocols for additional insights into thorough decontamination. Professional cleaning services can provide advanced treatments that go beyond standard home methods, ensuring complete pest elimination.
After initial cleaning, implement additional protective measures:
- Seal potential entry points like wall cracks
- Use mattress and box spring encasements
- Apply residual pesticide treatments if recommended
- Monitor the area for potential reinfestation signs
Verify your decontamination process by conducting careful inspections over the next several weeks. Look for telltale signs like tiny blood spots, shed exoskeletons, or live bugs. Consider using bed bug interceptor traps under furniture legs to detect any remaining population. Professional pest control experts recommend follow up inspections at 30 and 60 day intervals to ensure complete eradication.
Remember that thorough cleaning is your final defense against potential bed bug reemergence. Patience, meticulousness, and systematic approach are your best tools in this critical final step of bed bug furniture disposal.
Step 6: Verify the Area is Bed Bug Free
Verifying complete bed bug elimination represents the final critical checkpoint in your furniture disposal and decontamination process. This verification stage requires systematic, patient investigation to ensure no surviving insects remain that could potentially restart an entire infestation cycle.
Begin your comprehensive inspection using specialized tools and techniques. Invest in bed bug interceptor traps, which you can place under furniture legs and along baseboards to monitor potential insect movement. These small, strategic devices capture any remaining bed bugs attempting to migrate, providing concrete evidence of their presence or absence. Use a powerful flashlight with extra bright LED illumination to examine every surface meticulously, paying special attention to tiny cracks, seams, and hidden corners where bed bugs might conceal themselves.
According to Purdue University’s Entomology Extension, developing a systematic inspection protocol is crucial for confirming complete bed bug elimination. Implement a structured monitoring approach that involves multiple inspection stages over several weeks. During these inspections, look for telltale signs like tiny rust colored blood stains, shed exoskeleton casings, or live insect movement.
Explore our comprehensive cleaning protocols for additional insights into thorough area verification. Professional pest control services can provide advanced detection methods that go beyond standard home inspections.
Establish a verification timeline with specific checkpoints:
- Initial inspection immediately after cleaning
- Follow up inspection after 2 weeks
- Final comprehensive inspection at 4 6 weeks post treatment
- Use interceptor traps continuously during this period
Consider engaging a professional pest control expert for a final verification assessment. These specialists use advanced detection techniques like trained bed bug sniffing dogs or infrared scanning to identify any remaining insect populations. Their expertise provides an additional layer of confidence in your elimination efforts.
Remember that verification is not a single moment but an ongoing process. Maintaining vigilance, documenting your findings, and remaining proactive will help ensure your space remains completely bed bug free. Patience and meticulous attention to detail are your most powerful tools in confirming successful bed bug elimination.
Safeguard Your Space: Professional Bed Bug Furniture Disposal in Connecticut
Dealing with bed bug infested furniture is stressful and demands careful, detailed action. This article outlined every step, from evaluating your furniture and sealing infested items to arranging safe removal and verifying that your home is truly free from lingering pests. The main challenges you face are thorough containment, compliant disposal, and preventing any risk of re-infestation or spread throughout your property. Attempting this alone can be overwhelming and risky, especially when ensuring every protocol is followed precisely.
Let our local experts at C&M Carting Solutions take care of the heavy lifting and intricate disposal steps for you. We provide responsible, confidential junk removal and furniture disposal that follows best practices for pest-related contamination. Do not let bed bugs take over your peace of mind or put your property at risk. Get a free personalized quote today using our fast online request form. Move forward with confidence by choosing a family-owned team that understands safe, compliant disposal right here in Litchfield County. Protect your home and gain back peace of mind—schedule your hassle-free service now.
Frequently Asked Questions
How do I know if my furniture is infested with bed bugs?
Thoroughly inspect your furniture for live bugs, small white eggs, dark rust-colored stains from excrement, or shed exoskeleton casings. Focus on seams, cracks, corners, and folds where bed bugs hide.
What is the best method for sealing infested furniture before disposal?
Wrap infested furniture in heavy-duty plastic sheeting, ensuring it is completely encased with no gaps. Use industrial-strength packing tape to create an airtight seal and label it clearly as ‘BED BUG INFESTED’.
How should I dispose of bed bug-infested furniture safely?
Contact your local waste management authority to understand their specific disposal guidelines. You may need to schedule a specialized pickup service or use professional junk removal services who are experienced with pest-contaminated items.
What cleaning methods should I use after removing infested furniture?
Thoroughly clean the remaining area by washing fabric items in hot water, vacuuming extensively using a HEPA filter vacuum, and considering steam cleaning for hard surfaces. Make sure to check for any potential entry points and monitor for signs of reinfestation.