Storms can turn your peaceful yard into a cluttered mess almost overnight and leave you facing a mountain of broken branches, toppled fences, and unexpected hazards. Most people assume cleanup is just about grabbing a rake and getting to work. That could not be further from the truth. The most effective storm debris cleanup actually starts before you lift a single branch, because a careful assessment and sorting plan reduces injuries and makes the entire process much faster. Wearing the right safety gear and using systematic organization can cut cleanup time by up to 50 percent compared to random collection methods.
Table of Contents
- Step 1: Assess Your Property for Damage and Debris
- Step 2: Gather Essential Cleanup Tools and Safety Gear
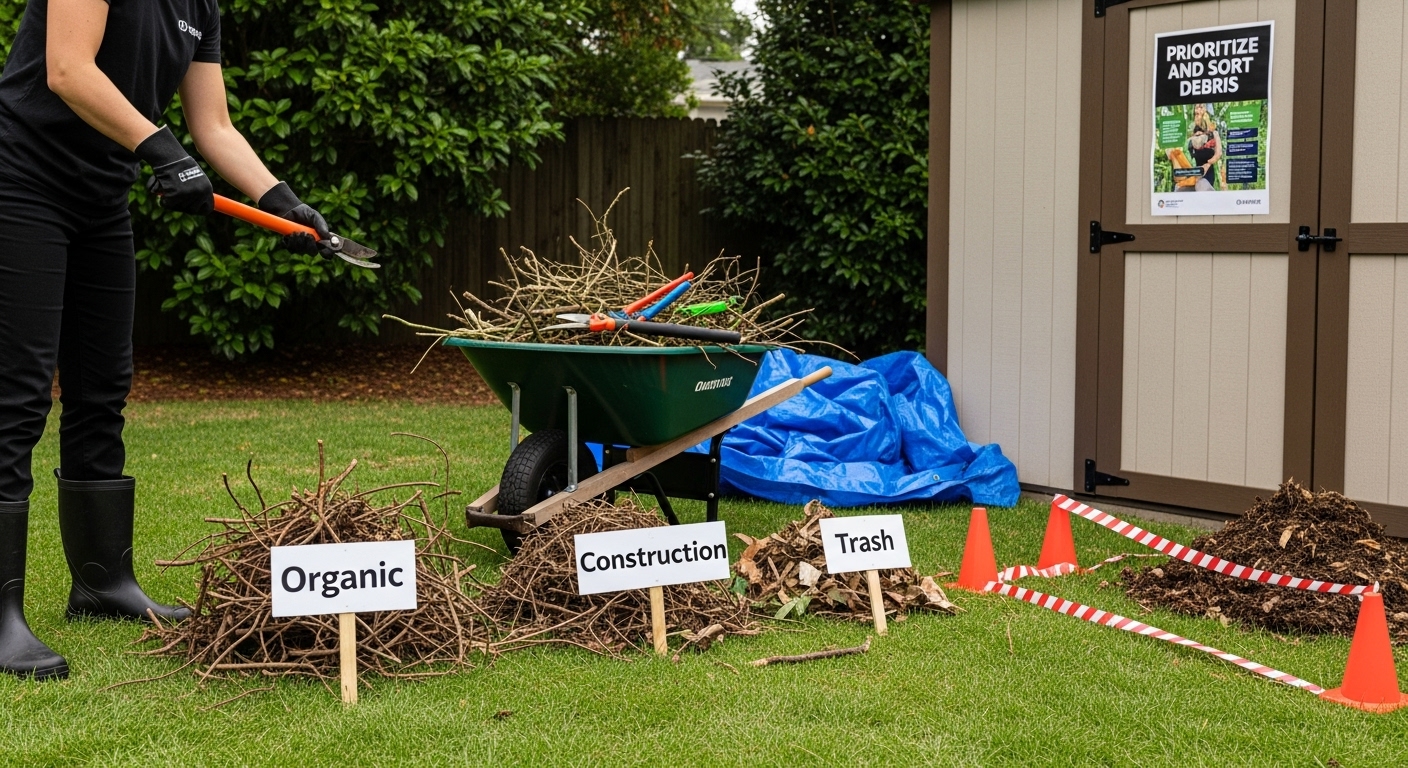
- Step 3: Prioritize and Sort Debris for Removal
- Step 4: Execute Safe Removal Techniques for Debris
- Step 5: Arrange for Professional Disposal Services
- Step 6: Verify Site Cleanup and Assess for Additional Hazards
Quick Summary
| Key Point | Explanation |
|---|---|
| 1. Conduct a thorough property assessment | Walk the perimeter to identify hazards, damage, and debris before starting cleanup. Take photos for documentation and insurance claims. |
| 2. Gather essential tools and safety gear | Assemble heavy-duty gloves, safety glasses, and proper cleanup tools to ensure safety and efficiency during debris removal. |
| 3. Prioritize debris removal systematically | Sort debris by type, focusing first on hazardous materials, to create a safer and more manageable cleanup process. |
| 4. Use proper techniques for debris removal | Lift correctly and work methodically through the property, avoiding injury, and ensuring a clear path for cleanup operations. |
| 5. Verify site cleanup and assess hazards | Perform a final walkthrough to check for overlooked debris and potential hazards, documenting findings to ensure property safety. |
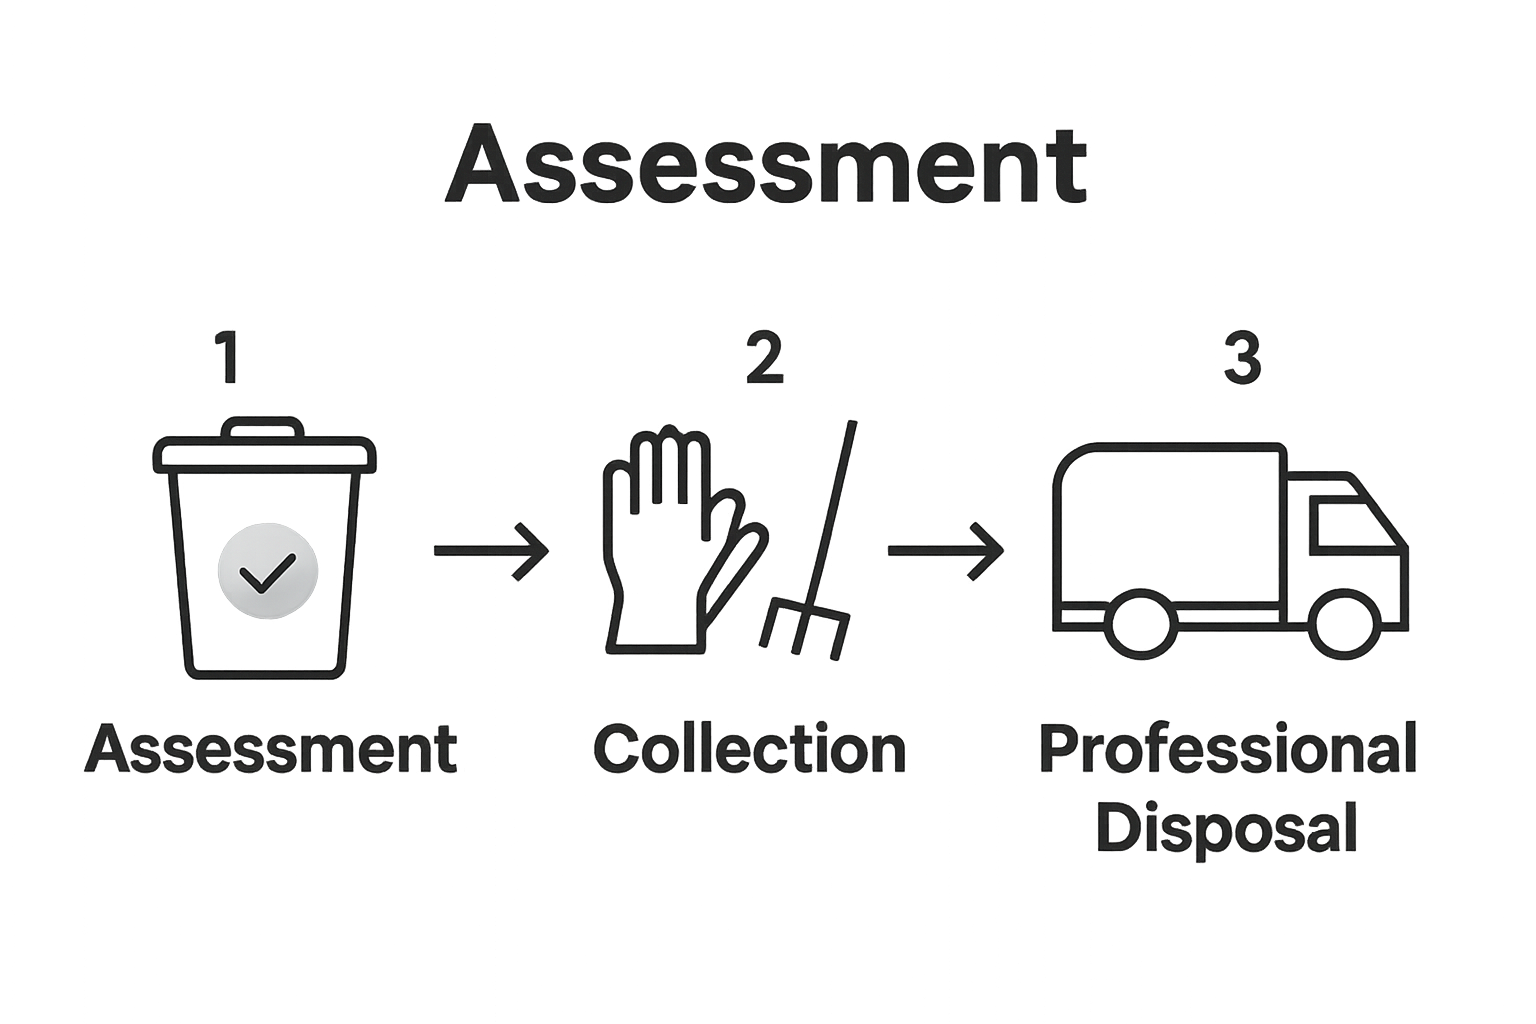
Step 1: Assess Your Property for Damage and Debris
When storms hit, your property becomes a battlefield of potential hazards and hidden dangers. The first critical step in storm debris cleanup is a comprehensive property assessment that will guide your entire recovery strategy. This initial walkthrough determines the scope of damage, identifies potential safety risks, and helps you develop a systematic cleanup plan.
Begin your assessment by conducting a careful exterior survey. Walk the perimeter of your property methodically, observing fallen trees, broken branches, scattered debris, and potential structural damage. Look for large objects like tree limbs that might have punctured roofs or damaged siding, and note areas where debris has accumulated. Wear sturdy boots, long pants, and protective gloves during this initial inspection to prevent injury from sharp or unstable materials.
Our guide on demolition debris removal provides additional insights into safely navigating post-storm property assessment. Take detailed photographs of all damage for insurance documentation, capturing wide shots that show overall property conditions and close-up images highlighting specific damage points. These visual records will be crucial when filing insurance claims and tracking cleanup progress.
Pay special attention to potential hidden hazards. Check for downed power lines, damaged electrical equipment, and areas where water might have pooled, creating slip risks or potential electrical dangers. If you encounter any electrical risks or structural damage that seems severe, contact local authorities or utility companies before proceeding with cleanup efforts. Prioritize personal safety above all else during this initial assessment phase.
A thorough property assessment requires a systematic approach. Consider creating a damage inventory list that categorizes debris types:
- Organic debris (tree branches, leaves, vegetation)
- Construction materials (broken fence parts, roof shingles)
- Personal property items (outdoor furniture, scattered belongings)
- Potential hazardous materials
By meticulously documenting and categorizing storm damage, you’ll transform a chaotic scene into a manageable cleanup project. Your careful initial assessment sets the foundation for efficient, safe, and effective property restoration.
Step 2: Gather Essential Cleanup Tools and Safety Gear
Successful storm debris cleanup requires more than good intentions. Proper preparation with the right tools and safety equipment transforms a potentially dangerous task into a manageable cleanup operation. Your goal in this step is to equip yourself with protective gear and the necessary tools to efficiently and safely restore your property.
Our home renovation debris cleanup guide offers additional insights into selecting appropriate equipment. Begin by assembling your personal protective ensemble. This includes sturdy work gloves that protect against cuts and splinters, safety glasses to shield your eyes from debris, and a high-quality dust mask or respirator to prevent inhalation of potentially harmful particles. Waterproof boots with thick soles provide crucial protection against sharp objects and slippery surfaces.
Your cleanup toolkit should be comprehensive and tailored to storm damage. Essential items include heavy-duty trash bags, a rake for gathering scattered debris, pruning shears for cutting smaller branches, a wheelbarrow for transporting larger materials, and a tarp for organizing and moving collected items. A chainsaw might be necessary for more significant tree damage, but only use this if you have proper training and experience. For those less comfortable with power tools, consider hiring professional debris removal services.
Prepare multiple stations around your property for efficient sorting. Create designated areas for different types of debris:
- Organic materials (branches, leaves)
- Recyclable construction debris
- General trash
- Potentially hazardous materials
Before beginning cleanup, ensure you have a first aid kit nearby and have informed a family member or neighbor about your cleanup plans. Stay hydrated, take frequent breaks, and avoid overexertion. Remember that some debris might require professional handling, particularly if it involves electrical hazards, large fallen trees, or structural damage. Your safety is paramount throughout this process.
Here is a table organizing the essential storm debris cleanup tools and safety gear along with their primary purposes for efficient and safe property recovery.
| Tool/Safety Gear | Purpose |
|---|---|
| Heavy-duty work gloves | Protects hands from cuts, splinters, sharp debris |
| Safety glasses | Shields eyes from dust and flying debris |
| Dust mask/Respirator | Prevents inhaling harmful particles |
| Waterproof boots | Guards feet from sharp objects and wet surfaces |
| Rake | Gathers leaves and scattered small debris |
| Pruning shears | Cuts smaller branches for easier removal |
| Heavy-duty trash bags | Collects and contains debris for disposal |
| Wheelbarrow | Transports bulky or heavy items efficiently |
| Tarp | Organizes and moves debris piles |
| First aid kit | Provides emergency medical supplies if needed |
Step 3: Prioritize and Sort Debris for Removal
Storm debris cleanup requires a strategic approach that transforms chaos into systematic restoration. Prioritizing and sorting debris is more than just random collection it is a critical process that ensures safe, efficient property recovery. This step transforms your scattered debris field into an organized cleanup operation, making the entire removal process smoother and more manageable.
Our basement junk removal tips can provide additional insights into systematic sorting strategies. Begin by creating distinct zones for different debris types. Start with hazardous materials like broken glass, exposed electrical wires, or chemically contaminated items which require immediate and careful handling. These potential danger zones should be cordoned off and addressed first, preventing accidental injury or environmental contamination.
Next, focus on large organic debris such as fallen trees, massive branches, and extensive vegetation. These substantial items often impede movement and can cause additional property damage if left unattended. Use your pruning tools and wheelbarrow to systematically move these larger objects to a designated staging area. For oversized tree limbs or complex removal scenarios, consider consulting professional debris removal services that have specialized equipment and expertise.
Your sorting strategy should encompass multiple categories to streamline the eventual disposal process:
- Organic materials (vegetation, tree branches)
- Construction and building debris
- Personal property and household items
- Potentially hazardous waste
- Recyclable materials
Maintain detailed documentation throughout this process. Take photographs of sorted debris piles, noting their location and composition. This documentation serves multiple purposes: insurance claims, potential tax deductions for disaster recovery, and maintaining a clear record of your cleanup progress. By methodically sorting and prioritizing debris, you transform an overwhelming cleanup task into a structured, manageable restoration effort.
Step 4: Execute Safe Removal Techniques for Debris
Removing storm debris is a critical phase that demands precision, patience, and strategic planning. Executing safe removal techniques transforms your cleanup from a potentially dangerous task into a systematic recovery operation. Your primary objectives are minimizing personal risk, preventing further property damage, and efficiently clearing your landscape of storm-generated obstacles.
Our foreclosure cleanout guide offers additional insights into handling complex removal scenarios. Begin with large organic debris like fallen trees and heavy branches. Use proper lifting techniques by bending at the knees, keeping your back straight, and avoiding overexertion. For substantial tree limbs or extensive vegetation, consider using mechanical assistance like a wheelbarrow or requesting help from neighbors or professional services. Break down larger branches into manageable sections using pruning tools or a chainsaw, always maintaining a stable stance and clear working area.
Approach different debris types with specialized strategies. Wooden debris should be cut into consistent lengths for easier disposal, while metal fragments require careful handling to prevent cuts or punctures. Wear thick gloves, long pants, and closed-toe shoes during this process. Move systematically across your property, working from the most obstructed areas toward clear zones. This approach prevents re-contaminating already cleared spaces and helps you track your progress effectively.
Prioritize these critical safety considerations during debris removal:
- Always work with a partner or ensure someone knows your location
- Take frequent breaks to prevent exhaustion
- Stay hydrated and monitor your physical condition
- Stop immediately if you feel dizzy, experience pain, or notice unsafe conditions
Verify your removal process by conducting a final walkthrough. Look for any remaining small debris, check for potential hazards you might have missed, and ensure all sorted materials are correctly positioned for final disposal. Remember that some debris might require specialized removal services, particularly if it involves electrical hazards, large structural components, or potentially contaminated materials.
Step 5: Arrange for Professional Disposal Services
As storm debris cleanup reaches its final stages, professional disposal services become your strategic partner in completing the restoration process. Navigating the complexities of debris removal requires more than just physical effort it demands understanding local regulations, waste management protocols, and specialized disposal techniques.
Our appliance removal guide provides additional context for handling specific disposal challenges. Begin by contacting local municipal authorities to understand specific storm debris collection guidelines. Many communities offer temporary debris collection services following significant storm events, with designated drop-off locations or scheduled pickup times. These services often handle different debris types separately, so your pre-sorting efforts from previous steps will prove invaluable.
For debris that municipal services cannot manage, professional junk removal services become crucial. These specialized teams possess the equipment, knowledge, and permits to handle complex removal scenarios. When selecting a service, request detailed quotes that outline their approach to different debris types. Environmentally conscious companies will prioritize recycling and responsible disposal, minimizing landfill contributions. Verify their credentials, insurance coverage, and experience with storm-related debris removal to ensure comprehensive and safe disposal.
Consider these key factors when engaging professional disposal services:
- Confirm their experience with storm debris removal
- Verify appropriate licensing and insurance
- Request a comprehensive written estimate
- Understand their recycling and disposal protocols
- Ensure they can handle multiple debris categories
Complete your disposal process by obtaining documentation of debris removal. Request receipts, disposal certificates, and detailed reports of the materials handled. These documents serve multiple purposes: potential insurance claims, tax deductions for disaster recovery expenses, and personal record-keeping. By partnering with professional disposal services, you transform a challenging cleanup task into a systematic, efficient property restoration effort.
Step 6: Verify Site Cleanup and Assess for Additional Hazards
The final stage of storm debris cleanup demands meticulous attention to detail and a comprehensive approach to property restoration. Verifying site cleanup goes beyond simple visual inspection it requires a systematic evaluation of potential hidden risks and ensuring complete property recovery. This critical step transforms your cleanup effort from a basic removal process into a thorough property rehabilitation.
Our foreclosure cleanout process guide offers additional insights into comprehensive property assessment. Begin with a methodical walkthrough of your entire property, using daylight to your advantage. Examine areas that might have been overlooked during initial cleanup efforts, paying special attention to less visible spaces like garden areas, fence lines, and areas near structures. Look for smaller debris fragments, potential soil contamination, or subtle landscape disruptions that could indicate underlying damage.
Carefully inspect structural elements for storm-related compromise. Check your home’s foundation, roof, siding, and external infrastructure for any signs of damage that might have been obscured by debris. Look for subtle indicators like new cracks, displaced materials, or changes in ground stability. Use a flashlight to examine dark or hard-to-reach areas, and consider using binoculars to inspect roof and high-elevation areas safely from ground level. This detailed examination helps prevent potential long-term property damage and identifies areas requiring professional repair.
Prioritize these critical verification points during your final assessment:
- Check electrical systems for potential water damage or exposed wiring
- Inspect plumbing for leaks or storm-related disruptions
- Examine trees and landscape for potential root damage or soil instability
- Verify that all debris has been completely removed from property boundaries
Complete your verification by documenting your findings. Take comprehensive photographs documenting the cleaned property, noting any areas of concern or potential future maintenance requirements.
Below is a checklist table to help you verify that your property is completely cleaned and safe after storm debris removal.
| Verification Step | What to Check | Documentation Needed |
|---|---|---|
| Inspect for missed debris | Walk entire property for any remaining small debris or fragments | Take photos of cleaned areas |
| Check structural elements | Look for cracks, displacement, or roof/siding issues | Note issues found |
| Examine electrical systems | Inspect for water damage or exposed wiring | Record electrical concerns |
| Assess plumbing | Look for leaks or disruptions from storm damage | List areas to repair |
| Evaluate tree and root stability | Check for soil changes or root exposure in landscaping | Take photos of issues |
| Confirm debris removal boundaries | Make sure all debris is removed from property edges | Document property boundary |
| Final documentation | Photograph entire property and note any follow-up needs | Keep for insurance/records |
Transform Your Storm Cleanup Into a Fresh Start With Local Experts
Storms can leave your property overwhelmed with debris, leaving safety concerns and stress in their wake. You already understand the importance of a careful property assessment and safe removal techniques after severe weather, just like outlined in our storm debris cleanup guide. Yet, tackling large piles, heavy limbs, and hazardous scraps alone exposes you to risks and insurance headaches. If you want to regain control faster, professional help can make all the difference. The right partner will sort, lift, remove, and dispose of every debris type efficiently, so you can restore your space and peace of mind.
Do not let storm aftermath linger another day. Reach out to a family-owned and community-focused team offering transparent pricing, customized service, and quick response throughout Litchfield County. Whether you require help with demolition debris removal basics or need to clear mixed storm waste from your yard, we are ready to support your recovery. Take the first step toward a safer, clutter-free property by requesting your fast quote online today. Get the responsive, reliable cleanup you deserve now.
Frequently Asked Questions
What should I do first during storm debris cleanup?
Begin by conducting a thorough assessment of your property to identify damage and potential hazards. Look for fallen trees, broken branches, and structural damage before starting the cleanup.
What protective gear is necessary for storm debris cleanup?
Essential protective gear includes sturdy work gloves, safety glasses, a dust mask or respirator, and waterproof boots. This equipment will help safeguard against cuts, splinters, and inhalation of harmful particles.
How should I sort debris during cleanup?
Sort debris into categories such as organic materials (branches, leaves), construction debris (broken fencing, shingles), personal property items, and hazardous materials. This systematic approach ensures efficient disposal later on.
When should I hire professional debris removal services?
Consider hiring professionals if you encounter large fallen trees, structural damage, or hazardous materials like exposed electrical wires. Experts have the necessary equipment and training to handle these complex situations safely.